TRY SQUARE [Measure 90 degrees and Cut Material]
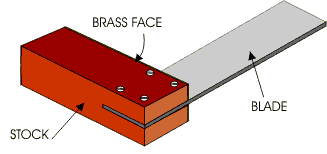
The try-square is pushed against the straight edge of a piece of wood and a marking knife is then used to mark a straight line across the material. The line is continued all the way round the wood (all four sides are marked). This type of marking materials helps if a joint is to be cut or the end of the material is simply to be sawn away.
Also used to measure 90 degrees (perfect square is all angles 90 degrees) Most candidates think measuring is the only use of a try square however it can be used for cutting as explained in the first paragraph.
Engineer's try square is a bit different however it is used in the same manner.
MARKING GAUGE [Making Parallel Lines]
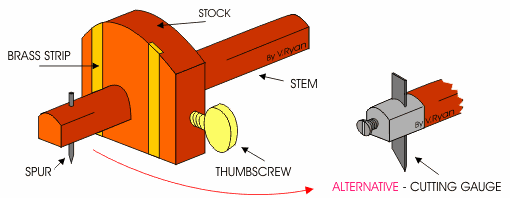
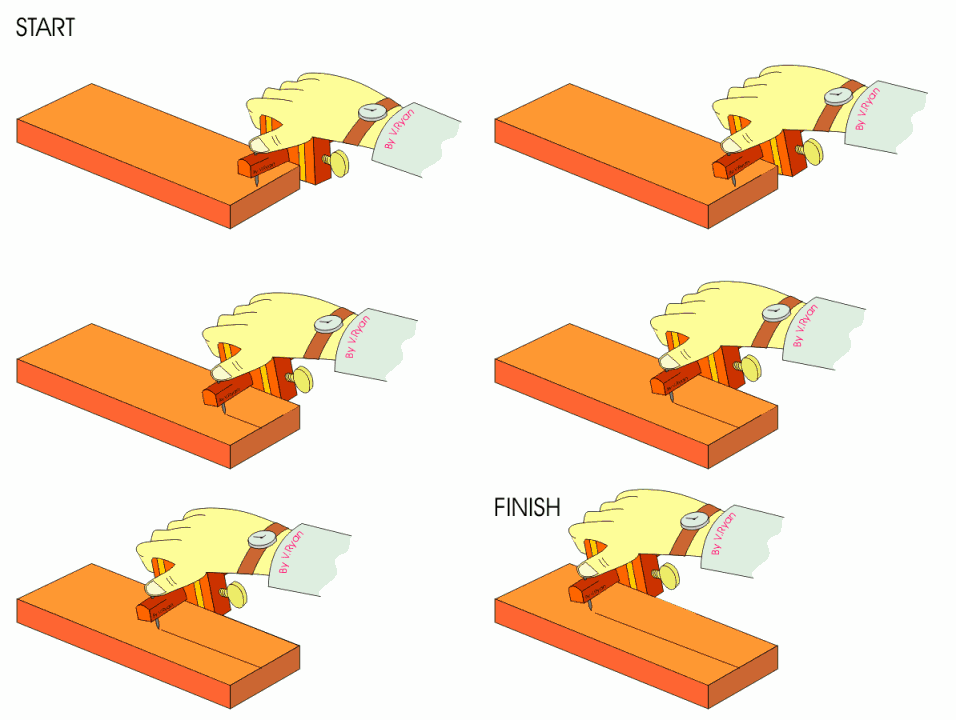
A marking gauge is used to mark a line parallel to a straight edge. The stem and stock are made from beech and the thumbscrew from clear yellow plastic. The better quality gauges have brass inserts at the front of the stock. These help reduce the wear on the stock as it is pushed against the surface of the wood - to be marked. The marking gauge is an extremely important tool for marking parallel lines and preparing for cutting joints.
SLIDING BEVEL [Make Lines at Particular Angles]
If you want to make a line at say 35 degree from the corner of the wood, you just slide it downwards till 35 degrees and draw a line.
CENTRE SQUARE [Find The Centre of a circle]
These are all the pictures i got when i searched it.
COPING SAW [Cutting Unusual Shapes or Curves] [if you know what i mean ;)]
Mostly for wood. Used when fretsaw is not available.
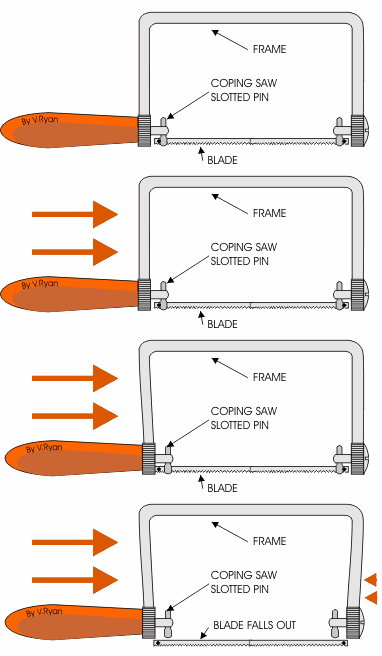
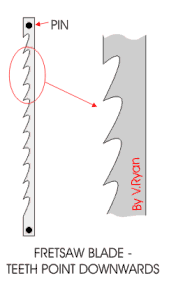
Coping saws are used for cutting a range of woods and are very useful for cutting unusual shapes or curves. In a modern workshop these shapes are normally cut using machine fretsaws. However, there are times when these machines are not available. Also, using a coping saw is a test of skill as it can be difficult to control and requires practice.
HACKSAW [Cuts Steel and other metals, plastics, can be used to cut woods]
The hacksaw is used to cut steel and other metals. It can also be used to cut plastics, although it is no t normally used to cut woods.
It is sometimes called an adjustable hacksaw because the length of the frame can be altered to hold blades of different sizes. Blades are supplied in two lengths, 250mm and 300mm. If the adjusting screw is unscrewed, the frame can be pushed into the handle so that the smaller blades fit the hacksaw.
3 'teeths' (triangular blades) of the saw need to be on the wood.
TENON SAW [Cuts Wood]
The saw has to be held in the hand carefully. The index finger must point in the direction of sawing and it also helps to support the whole saw as it moves forward. The saw must not move from side to side or it will jam in the wood making sawing difficult.
Monday, 2 December 2013
Saturday, 30 November 2013
Basic Equipments
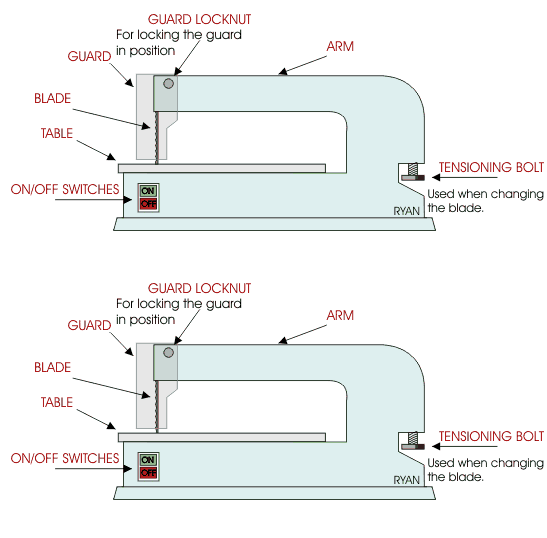
The fretsaw is a general workshop machine. It is used to cut and shape light materials such as perspex, MDF and plywood. Fretsaws are made by different companies and they range in price depending on the quality of machine. The most expensive and probably the best are manufactured by the German company ‘Hegner’. These can be used to cut very detailed shapes and they are supplied with different types of blade according to the material that is to be cut.
Cheaper fretsaws are still very useful and they can cut a range of materials. The materials cut more easily if they are quite thin, for instance, any material thicker than 10mm would be difficult to shape. The general rule is that the thicker the material, the slower the machine operator pushes the work against the blade. | |
There are two types of machine drill, the bench drill and the pillar drill. The bench drill is used for drilling holes through materials including a range of woods, plastics and metals. It is normally bolted to a bench so that it cannot be pushed over and that larger pieces of material can be drilled safely.
The larger version of the machine drill is called the pillar drill. This has a long column which stands on the floor. This can do exactly the same work as the bench drill but because of its larger size it is capable of being used to drill larger pieces of materials and produce larger holes. | |||||||||||||||||||||||||||||||||||||||||||||
BENCH DRILL
|
PILLAR DRILL
| ||||||||||||||||||||||||||||||||||||||||||||
SAFETY
1. Always use the guard.
2. Wear goggles when drilling materials. 3. Clamp the materials down or use a machine vice. 4. Never hold materials by hand while drilling. 5. Always allow the ‘chippings’ to clear the drill by drilling a small amount at a time. 6. Follow all teacher instructions carefully. | |||||||||||||||||||||||||||||||||||||||||||||
|
Types of Hinges
A large variety of hinges are available from most hardware stores. The type bought depends on how it is to used and what it is to be fitted to. For example, when selecting a hinge for a jewellery box, a small brass butt hinge is likely to be used rather than a concealed hinge. Furthermore, brass hinges are more expensive than steel ones and they give a quality look to the completed product. Below are some of the more popular hinges that are available.
| |||
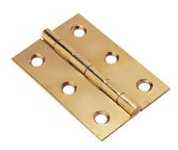
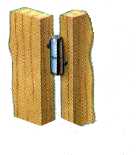
BUTT HINGE: Comes in a range of sizes from 13mm to 150mm and is normally used for cabinet doors. They are very strong but cannot be adjusted once they are fitted. | |||
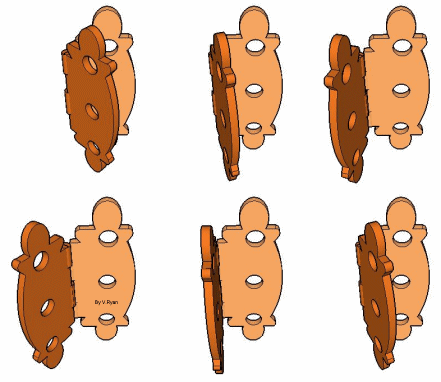
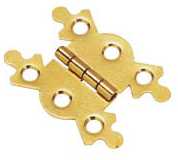
BUTTERFLY HINGE: This is often used on light-weight doors and different shapes and patterns are available. They are generally easy to fit. | |||
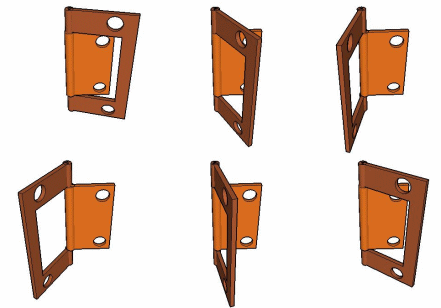
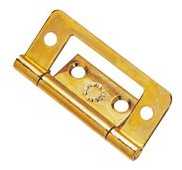
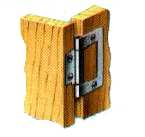
FLUSH HINGE: This type of hinge does not require a recess to be cut. They are not as strong as butt hinges but can be used for light-weight doors and small box construction.
| |||
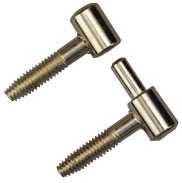
BARREL HINGE: This comes in two parts. The threaded part of the hinge is screwed into a pre-drilled hole. They are easy to fit and the hinge can be dismantled. | |||
` | |||
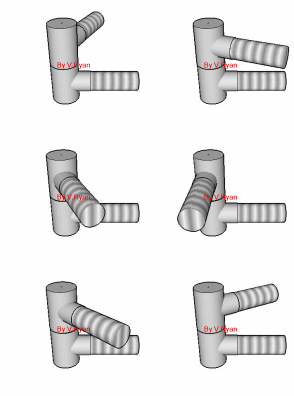
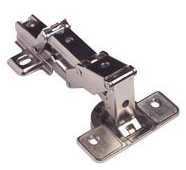
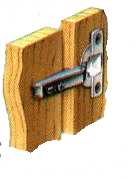
CONCEALED HINGE: These normally come in two sizes (25mm and 36mm. The hinge is adjustable once fitted and is designed with chipboard and MDF in mind.
| |||
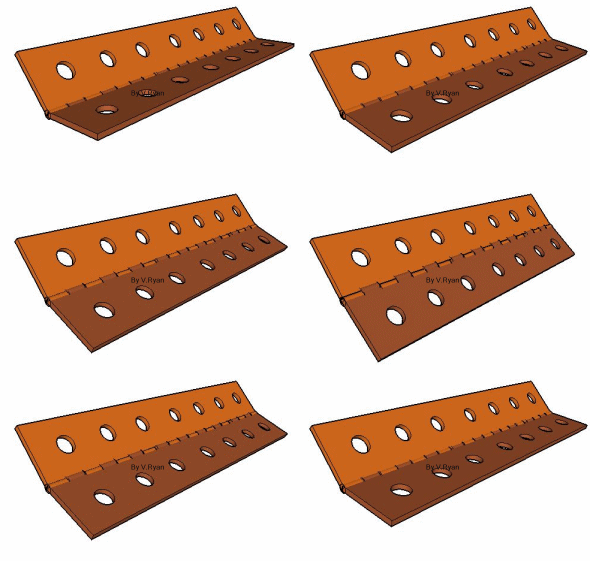
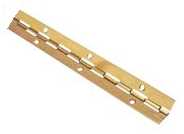
CONTINUOUS or PIANO HINGE
| |||
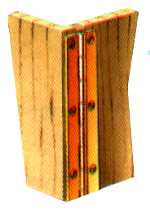
This is a hinge that comes in different lengths and can be bought in brass or steel. It is ideal where a long hinge is required such as a desk top or a cupboard door. Small countersink screws are normally used to fix it in position.
|
Types of Nails& Glues
ROUND WIRE NAIL - This is used for general work. It is not attractive in shape and it can split wood when hammered in position
| ||
OVAL WIRE NAIL - This is a long nail and care must be taken when it is hammered into the wood. It is unlikely to split the wood.
| ||
LOST HEAD NAIL - This is ideal if it is necessary to hide the head of the nail as a punch can be used to hammer the head beneath the surface level.
| ||
PANEL PIN - A very popular way of joining woods although glue is usually included as part of the join.
| ||
TACK - Can be used for fixing textile materials to wood for example, fixing upholstery to furniture.
| ||
SPRIG - This no head and is generally used for fixing glass to glass in wood frames.
| ||
ANNULAR NAIL - The teeth of this nail hold it in place firmly. Therefore, it is used for fixing plywood and other materials.
| ||
HARDBOARD PIN - The diamond shaped head is hidden when used in materials like hardboard | ||
CORRUGATED FASTENER - This will hold the corners of wood frames firmly together |
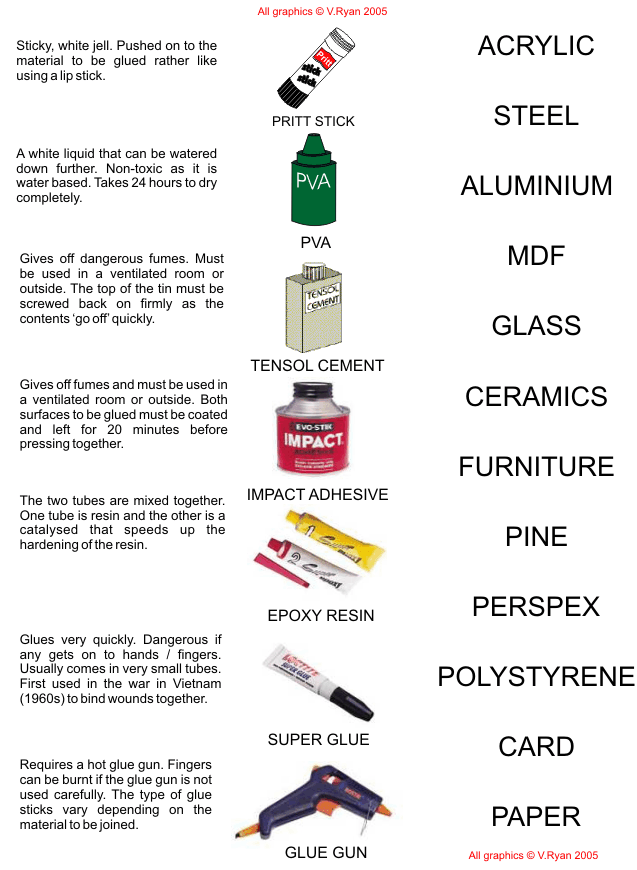
Woods can also be joined with the help of PVA glue. Modern glues are very strong and if adverts on TV are to be believed, joints made with glues can be stronger than the wood itself.
Cascamite is a waterproof glue and is probably the most effective glue of all. It is a white powder and is resin based and should be mixed in a glass or plastic container, two parts water to one part cascamite. It must be stirred thoroughly until it becomes a smooth/creamy paste. Cascamite is a quality glue and is suitable for all furniture especially if used outside as it resists rain water. The stages involved in the use of cascamite are outlined below.
1. Pour water into a glass container.
2. Pour powered cascamite into a glass container
3. Stir thoroughly until a smooth creamy paste is produced.
4. Apply to both wooden surfaces using a spreader or a paint brush.
5. Push the two pieces together, rubbing the surfaces from side to side. This will ensure that air is not trapped and that the glue has been spread evenly.
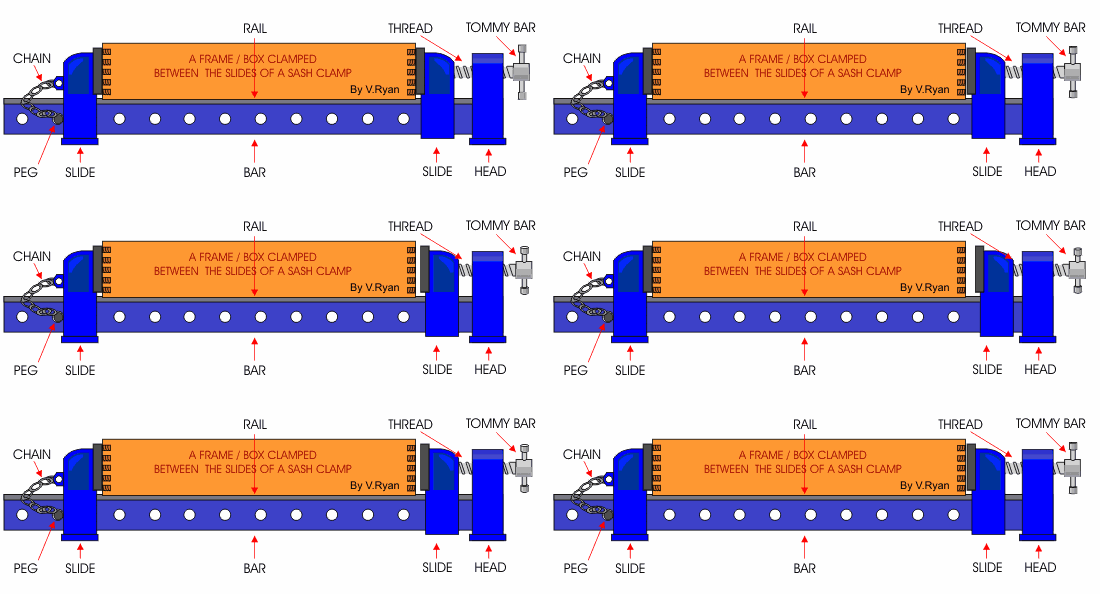
6. Use cramps such as G Cramps to lock the two pieces together. Leave for twenty four hours before removing the cramps.
Glues For Plastics
Tensol Cement, Contact adhesive, epoxy resin, Super glue.
Subscribe to:
Posts (Atom)